Showing posts with label Tutorial. Show all posts

Thursday, 5 September 2013

A fine lime

I got some powdered chalk from Chalk-AH-Lot Cafe last week. When I was playing around with the chalk and trying to see how it would look like on paper, I created this awesome structure with Chalk-AH-Lot: Lime. First I crumpled some white tissue paper. Next I unfolded it, but was careful not to smooth out the creases. I glued the tissue paper on a sheet of paper. Then I showered the paper with lots of lime green chalk. If I took a tiny amount of the chalk, it looked almost yellow-ish. If I took a bigger amount of it, it looked more like grassy green. Finally I used my paint brush and fixated the chalk with water.

I have created a card with this structure as my basis.


Closer look...
Card recipe
*Butterflies: painted with pink nail polish
*Font: The Dreamer
    - Skin colour: Promarker Almond
    - Hair: Liquid Pearls - Buttercup 
    - Cap/hat: Peach orange/pink nail polish, pink nail polish, Stickles Eucalyptus, Liquid Pearls -   
    Buttercup, Stickles Diamond, Stickles Orange Peel
    - Rose: Red crayon, Stickles Fruit Punch, Stickles Green
    - Shirt: Green crayon, Stickles Green, Stickles Diamond, Stickles Eucalyptus
*Border: Promarker Burnt Orange, Stickles Fruit Punch
*Ruffle: painted with Chalk-Ah-Lot: peach and pink nail polish
*Background painted with Chalk-Ah-Lot: Lime and Metallic Sand Paint 

I have submitted this card to the following challenges:
Aud Sentiments: Any sentiment
Digi Galore: Anything goes
Digistamps 4 joy: Inspired by the 60s (because of all the ruffles)
DRS Designs: It's so bright in here
Flutter By Wednesday: Open challenge 
Lady Anne's Challenges: Stamp + anything goes

Thursday, 16 August 2012

Apple of knowledge

Green apple card

I used acrylic
colours + crackle glaze to get a crackle effect on
my card.


The leaves are made with my home-made rubber stamp.
(Look below for more info.)


Handmade rubber stamp made from an eraser

How to create your own rubber stamp - the easy way:
1. Draw an image on a white eraser with a pencil. 
2. Use a pair of sharp, small scissors for
carving out
the fine lines. Use a knife for carving out the large areas.
N.B. Here's a more
detailed tutorial.
Also check
this out
.

Sunday, 10 June 2012

Sometimes a pencil sharpener is needed in order to make a good point

How to make your old pencil look like new:
Step 1: Cut a piece of paper (gift wrap paper, patterned paper or paper from magazine pages) that is as long as the pencil and wide enough to reach around it. 
Step 2: Apply plenty of glue on the paper and take some extra glue around the edges.
Step 3: Roll up the paper around the pencil. Be sure to glue the paper properly on your pencil, so that you can sharpen your pencil afterwards.

Why don't you freshen up your old pencils by covering them with some nice paper? It makes writing more fun. :)

Sunday, 20 May 2012

Beadalicious

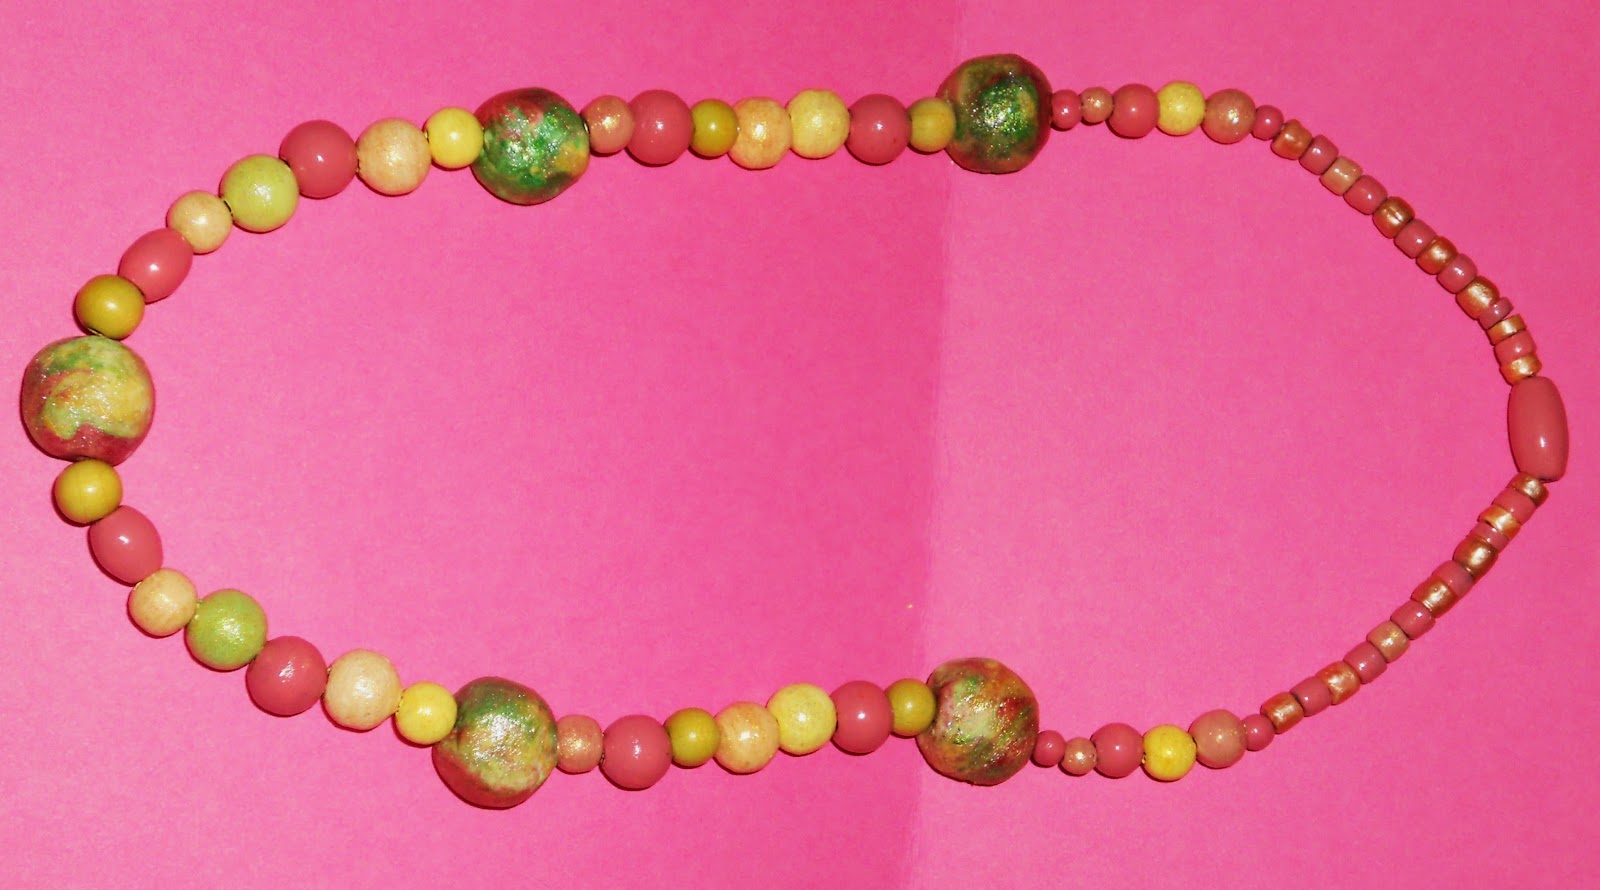
Batik beads/Rainbow drop beads


Batik beads tutorial: how to make batik beads from salt dough


Monday, 7 May 2012

May flowers


Quilling roses tutorial


Step 1: First you need a scalloped strip of paper and a quilling pen/tool.
Step 2: Let the end of the scalloped strip of paper slide into the tip of the quilling pen.
Step 3: Roll up the strip on the quilling pen.
Step 4: When the strip is fully rolled you may slide if off the pen.
Step 5: You can let the stripe unravel a little if you want the rose to be a bit loose. Be careful though so it doesn't unravel the whole way.
Step 6: Apply some glue on the end (use a toothpick). Now you have created a quilling rose á la Wiola.  :)

Monday, 2 April 2012

Life in the pasture lane

Sheep in the pasture lane


Click on the picture to see the tutorial! 
 You need:
* 2 A4-paper (in different colours) 
* Grey paper (for the faces), green paper (for the grass)
* A pair of sharp scissors
* A pencil
* Some coloured pencils (like black and white)
* Glue